Follow Me On Social Media!

Dirt Pudding Cups: Indulgent Treat That’ll Bring Out Your Inner Kid
Introduction to Dirt Pudding Cups
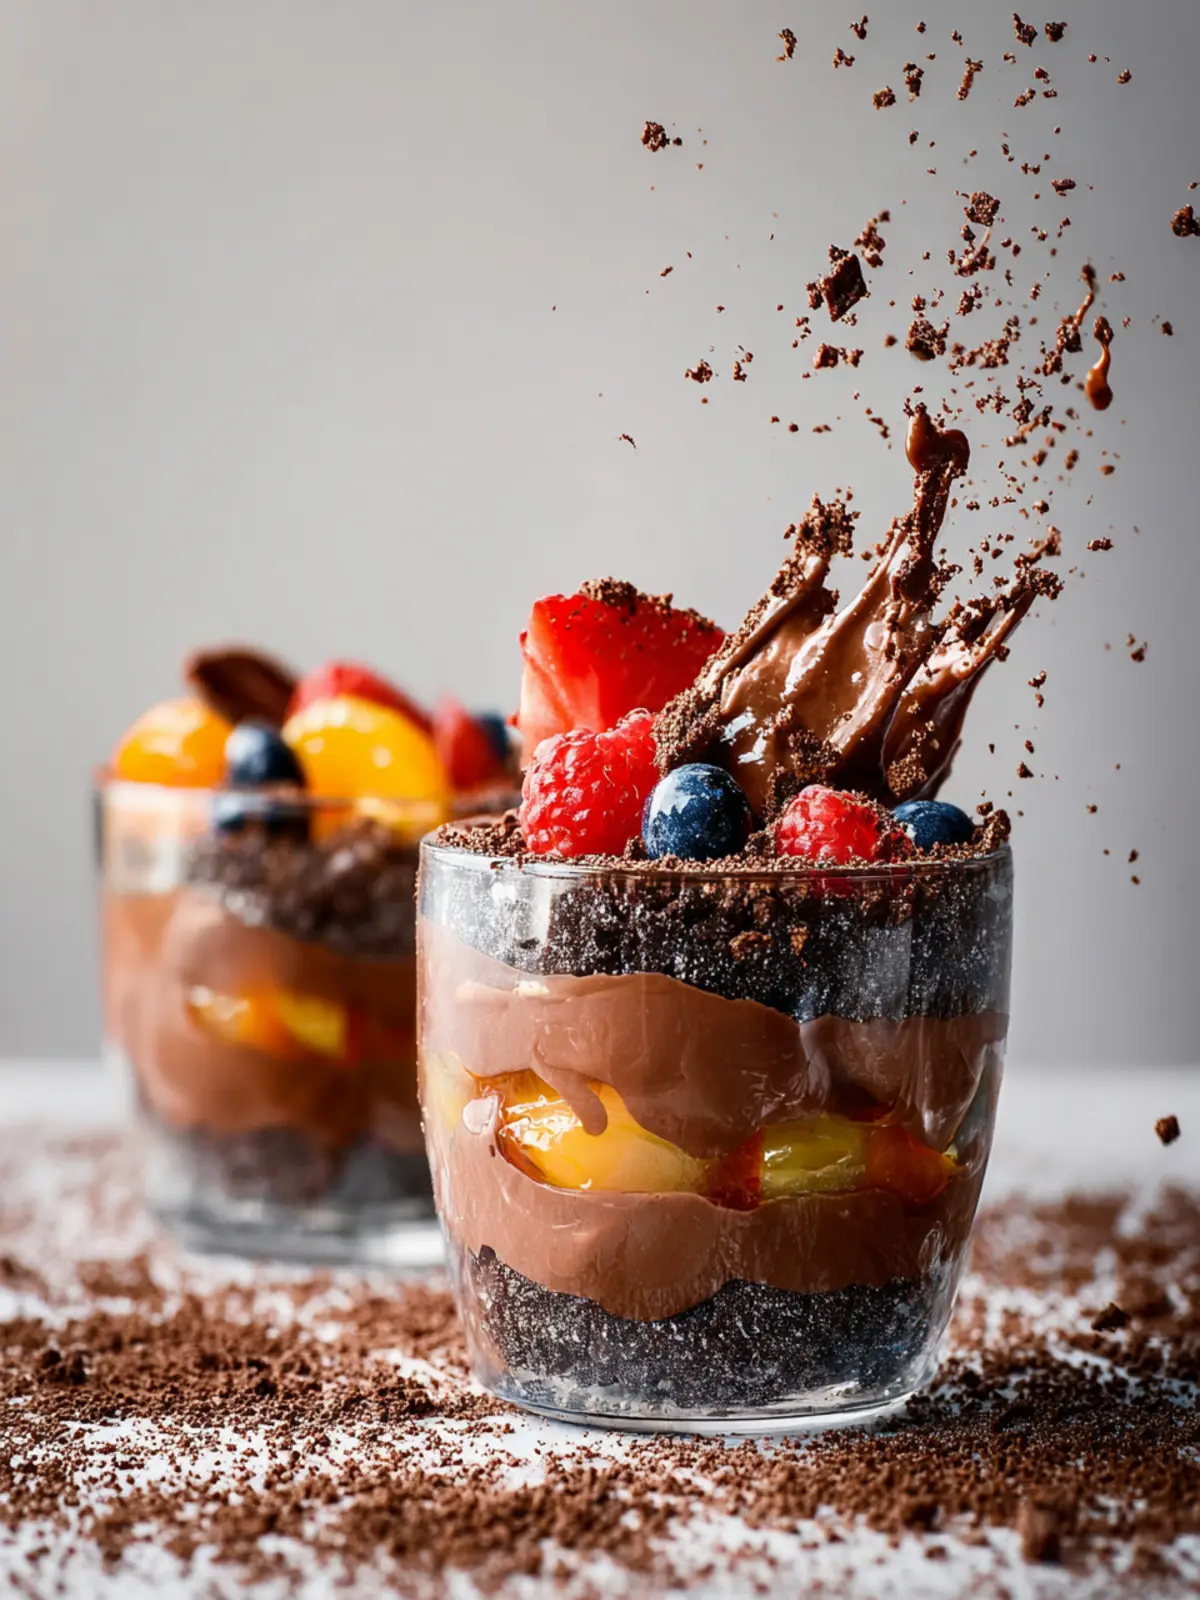
Dirt pudding cups are not just a delicious dessert; they embody a playful nostalgia that transports many of us back to childhood. Imagine sitting at a picnic table with friends, scooping up creamy chocolate pudding mingled with crumbled cookies, all served in a cool cup that looked like it came right from the garden. This delightful treat has a way of hitting that sweet spot, evoking memories of carefree days and childhood joy, making it a favorite at birthday parties, family gatherings, or anytime you want to bring a smile to someone’s face.
The charm of dirt pudding cups lies in their whimsical presentation and indulgent flavors. When you dig into a cup, you are greeted with rich, velvety chocolate pudding that melds beautifully with layers of crushed Oreo cookies—creating a texture that’s both creamy and crunchy. Topped with gummy worms or even edible flowers, these cups invite all ages to enjoy dessert, reminding us of a simpler time when fun could be as easy as a scoop from a cup.
What makes Dirt Pudding Cups a nostalgic favorite?
Several elements contribute to the enduring popularity of dirt pudding cups:
- Simplicity: The recipe is straightforward, making it easy for anyone to whip up whether you’re a beginner or a seasoned baker.
- Customization: The layers can be personalized based on your favorite flavors and toppings, allowing everyone to get creative. Add in chocolate chips, nuts, or your preferred candies to make it uniquely yours.
- Visual Appeal: The dessert is as fun to look at as it is to eat. The combination of the dark cookie “dirt” and the soft pudding mimics a mini garden, sparking imagination and excitement.
- Social Connection: Sharing dirt pudding cups at gatherings creates an experience. They invite playful conversation, laughter, and, often, a competition to see who can create the most impressive layers.
With all these delightful aspects, it’s no wonder that dirt pudding cups continue to enchant people of all ages, bringing joy and delicious memories into every bite. Whether you’re planning a get-together or just treating yourself, this dessert is sure to evoke smiles and fond memories.
Key Ingredients for Dirt Pudding Cups
Dirt pudding cups bring childhood nostalgia with their delightful mix of creamy chocolate and crunchy textures. The charm of this fun dessert lies in its simplicity and the quality of the ingredients you choose.
-
Chocolate Pudding: A rich chocolate pudding is the star of the show. I prefer using instant chocolate pudding mix; it’s convenient and creates a smooth, luscious layer that pairs perfectly with the other components.
-
Milk: The creamy base for your pudding. Using whole milk enhances the richness and creates a decadent texture. If you’re looking for a lighter option, you can substitute with skim or plant-based milk.
-
Cream Cheese: This adds a delightful tang and creaminess to the mix. Be sure to use softened cream cheese to avoid lumps and achieve a smooth consistency.
-
Cool Whip: This fluffy topping gives that classic dessert feel. It lightens the pudding and adds a lovely whipped texture, making each bite feel indulgent.
-
Oreos: Crushed Oreos sprinkle the top of your dirt pudding cups, mimicking soil. Their chocolatey crunch is essential for that authentic “dirt” look while complementing the creamy pudding.
By focusing on these key ingredients, you’re well on your way to creating dirt pudding cups that are sure to impress at any gathering!
Why You’ll Love These Dirt Pudding Cups
Dirt pudding cups offer a whimsical take on dessert that can transform any gathering into a fun-filled event. Imagine digging into a cup filled with layers of creamy pudding, rich chocolate, and a sprinkle of crunchy cookies that resemble dirt—you can’t help but smile!
A Delightfully Simple Recipe to Enjoy Anytime
The beauty of dirt pudding cups lies in their simplicity. Made with just a few ingredients like rich chocolate pudding, whipped cream, and crumbled cookies, you’ll find this dessert comes together in no time. Hosting a casual get-together or celebrating a special occasion? These cups fit the bill effortlessly.
Perfect for All Ages
Whether you’re a child at heart or entertaining actual kids, these dessert cups bridge the generation gap. They invoke nostalgic memories of childhood, making them a hit for family gatherings or casual brunches with friends. Plus, you can get creative with toppings—think gummy worms or edible flowers—to add your personal touch and keep everyone guessing.
Customizable and Versatile
One of the most appealing aspects of dirt pudding cups is how flexible they are. Feel free to experiment with flavors like vanilla pudding or add fruits for a refreshing twist. Regardless of your approach, they guarantee satisfaction every time. Grab your ingredients, and let’s turn this classic dessert into a memorable experience!
Tips for Making the Perfect Dirt Pudding Cups
Creating dirt pudding cups is not just about mixing ingredients; it’s an adventure of flavor and fun that brings a smile to everyone’s face. Here are some friendly tips to ensure your dessert is a hit!
Selecting the Right Cookies
Start with the foundation: cookies. I recommend using classic Oreos for their rich chocolate flavor and easy crumbling. If you fancy a twist, try chocolate graham crackers for a deeper cocoa taste. For an even crunchier texture, consider crushing the cookies by hand instead of using a food processor; the irregular pieces add character!
Achieving the Perfect Pudding Consistency
When preparing the pudding, whisk it vigorously to prevent lumps. The goal is a silky smooth texture that complements the creaminess of the whipped topping. For a richer flavor, substitute whole milk instead of low-fat milk in your pudding mix.
Layering for Visual Appeal
Presentation counts in dirt pudding cups! Begin with a layer of crushed cookies at the bottom, then add pudding and whipped topping before repeating. This process not only enhances the aesthetic but also ensures that each bite is balanced with chocolatey goodness.
Personal Touches Make It Special
Consider personalizing your cups with fun toppings! Gummy worms are the classic touch, but you could also sprinkle edible flowers or rainbow sprinkles for a festive look. Each little addition makes your dirt pudding cups uniquely yours.
These tips will elevate your dirt pudding cups from ordinary to extraordinary, inviting everyone to indulge in this delightful treat.
Time Details for Dirt Pudding Cups
Creating delightful dirt pudding cups is a playful culinary adventure that brings back childhood memories of mud pies and carefree days. Let’s dive into the time commitment for this delicious, nostalgic treat.
Preparation time
The prep time for your dirt pudding cups is just about 20 minutes. This is when you’ll mix those creamy ingredients and layer in the crumbled cookies, so it’s perfect for a quick dessert fix.
Chilling time
Chilling is essential to let the flavors meld and create that dreamy texture. Allow the dirt pudding cups to chill in the fridge for at least 2 hours, or if you can wait, overnight for extra tastiness.
Total time
In total, you’re looking at approximately 2 hours and 20 minutes to create a batch of these delightful cups, including prep and chilling time. Perfect for a fun weekend project or a last-minute dessert gathering!
Nutritional Information for Dirt Pudding Cups
Calories
When you indulge in dirt pudding cups, be ready for a delicious treat that also packs a calorie punch. Each serving typically contains around 200-250 calories, which makes it a delightful but indulgent dessert choice. It’s definitely worth savoring every spoonful!
Protein
In terms of protein, these delightful dirt pudding cups won’t contribute much to your daily intake, with about 2-3 grams per serving. While they’re not a primary protein source, the use of creamy ingredients adds a little boost to your dessert experience.
Sugar
Sweetness is the heart of any dessert, and dirt pudding cups deliver! Expect around 15-20 grams of sugar per serving, primarily from the chocolate pudding and gummy worms. This yummy sugar content enhances the fun aspect, making these cups a favorite among kids and adults alike.
Healthy eating is about balance, so enjoy your dirt pudding cups while keeping an eye on portion sizes!
FAQs about Dirt Pudding Cups
Dirt pudding cups offer a delightful twist on dessert that captures the whimsy of childhood while still charming adults. Whether you’re hosting a party or simply indulging your sweet tooth, these delightful cups can often lead to some questions and curiosities.
Can I make this dessert ahead of time?
Absolutely! Dirt pudding cups are perfect for prep in advance. You can assemble the layers and store them in the refrigerator for up to two days before serving. Just keep the gummy worms separate until you’re ready to serve to ensure they stay fresh and vibrant. This makes them a great option for busy schedules or last-minute gatherings, giving you more time to focus on enjoying the moment!
What can I substitute for gummy worms?
If gummy worms aren’t your thing, fear not! There are plenty of creative substitutes. Some excellent alternatives include:
- Chocolate-covered raisins: They add a similar texture and chocolatey flavor.
- Edible insects: For an adventurous twist that fits the theme, consider using candy-coated crickets.
- Chocolate sprinkles: These can mimic the look of “dirt” and add a fun crunch without the wormy aspect.
- Other gummy candies: Try gummy bears or even sour worms for a tangy twist.
How can I adjust the sweetness of the pudding?
Adjusting the sweetness in your dirt pudding cups is simple. If you prefer a less sweet dessert, consider reducing the amount of powdered sugar. Alternatively, for a touch more sweetness, you can add a drizzle of honey or maple syrup. Tasting as you go is key—this way, you can tailor your dessert to perfectly suit your preference!
Conclusion on Dirt Pudding Cups
Creating dirt pudding cups is not just about enjoying a delightful treat; it’s a chance to spark joy and engage creativity in the kitchen. Whether you’re preparing them for a children’s party or simply indulging your inner kid at heart, these layers of chocolatey goodness are sure to impress. The combination of creamy pudding, rich crushed cookies, and playful gummy worms makes for an irresistible dessert experience. Remember, the key to a perfect dirt pudding cup lies not just in the ingredients but in the love and fun you put into making them. So grab your ingredients and get ready to dig into this fabulous treat!
Print
Chocolate Dirt Pudding
- Total Time: 45 minutes
- Yield: 4 servings 1x
- Diet: Vegetarian
Description
This chocolate dirt pudding is a fun and delicious dessert perfect for kids and adults alike!
Ingredients
Scale
- 4 oz chocolate pudding mix
- 1 3/4 cup whole milk
- 2 large egg yolks
- 1 tablespoon butter
- 13 Oreo cookies (crushed)
- 6 gummy worms
Instructions
- In a small saucepan, whisk together the milk and egg yolks until well blended. Add the chocolate pudding mix and continue whisking until there are no lumps.
- Place the saucepan over medium heat and cook, stirring continuously, until the pudding begins to bubble. This step is crucial for achieving the perfect pudding consistency!
- Once bubbling, reduce the heat and cook for an additional 1 minute, stirring occasionally.
- Remove from heat and stir in the tablespoon of butter until fully melted and combined. Allow the pudding to cool to room temperature.
- Grab your favorite glass serving cups (this is where the fun begins!). Start by adding a few spoonfuls of your luscious chocolate pudding to the bottom.
- Next, add a generous layer of crushed cookies to create the “dirt.” Repeat the layers, alternating between pudding and cookies, until your cups are filled to the top—don’t hold back on the layers!
- For the final touch, add some adorable gummy worms on the top layer of crushed cookies. Feel free to get creative—let those gummy worms wiggle and peek out!
- For the best experience, allow the Chocolate Dirt Pudding to chill in the refrigerator for about 30 minutes before serving. This helps the flavors meld and creates a refreshing contrast of textures—a delight for your taste buds!
Notes
- This dessert is not only delicious but also a fun way to engage kids in the kitchen.
- You can use different types of cookies or candies for variations.
- Prep Time: 10 minutes
- Cook Time: 5 minutes
- Category: Dessert
- Method: Stovetop
- Cuisine: American
Nutrition
- Serving Size: 1 cup
- Calories: 250
- Sugar: 18g
- Sodium: 150mg
- Fat: 10g
- Saturated Fat: 5g
- Unsaturated Fat: 4g
- Trans Fat: 0g
- Carbohydrates: 30g
- Fiber: 1g
- Protein: 6g
- Cholesterol: 90mg